Contributed by Stan Jaskiel, children's book illustrator

So, what exactly happens to your manuscript when you send it off to Illustrator Land?

Well, I’m going to attempt to show you the process that takes place inside my lavish design studio (which is disguised as a spare bedroom). I’ll take one page of a children’s book I’ve already illustrated and show you the steps I went through and, hopefully, it’ll give you a sense of what to expect.

Now, let’s step behind the curtain and see what really happens!

THE MANUSCRIPT

On Christmas Eve I had a plan:
we would sail about
a-stealin’ all the presents
ol’ Santa had left out!

Here’s one of the stanzas from the manuscript I received from the author. It’s a page from a story about pirates.

The pirate captain in this scene gets the idea for his next crime. And since he had only appeared on the deck of his ship up to this point in the story, I thought I’d draw him below deck in his quarters as he hatches his plan.

It’s always helpful if the author breaks the text down into the stanzas that are to appear on each page in the way she wants.

You, as the author, know your story the best. So, to maintain control, you should do this step yourself rather than leaving this responsibility to the illustrator who obviously doesn’t know your story as well as you do.

If you’d like, you could also include suggestions for what you’d like to see in the artwork. But, as I said in my another article, avoid the “cast of
thousands“ request for the art and keep the setting and action somewhat minimal in scope.

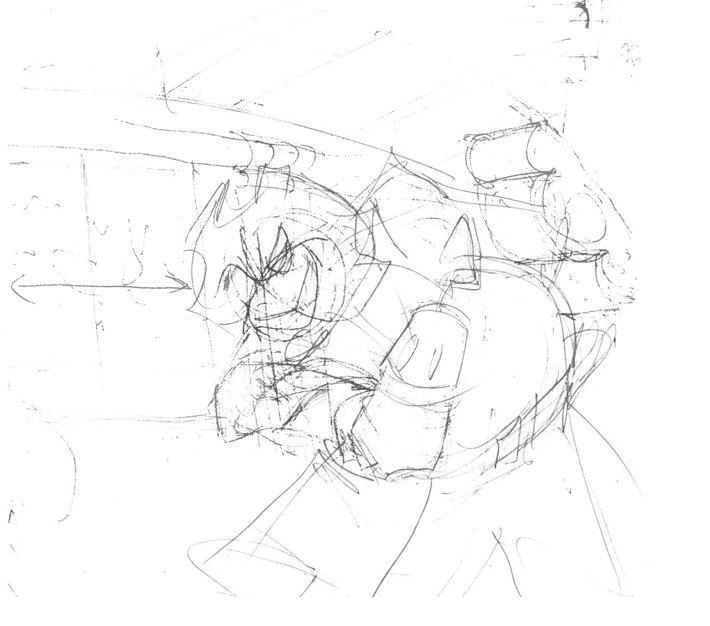
THE INITIAL SCRIBBLE...I MEAN SKETCH
No, I’m not kidding. Sometimes, my first rough sketch really does look like this. Here, I’m just trying to block out the pirate captain and a bit of his quarters. Believe it or not, I can actually understand what I drew here.

Sometimes, I’ll do quick thumbnail sketches next to each stanza of the manuscript to help me visualize things.

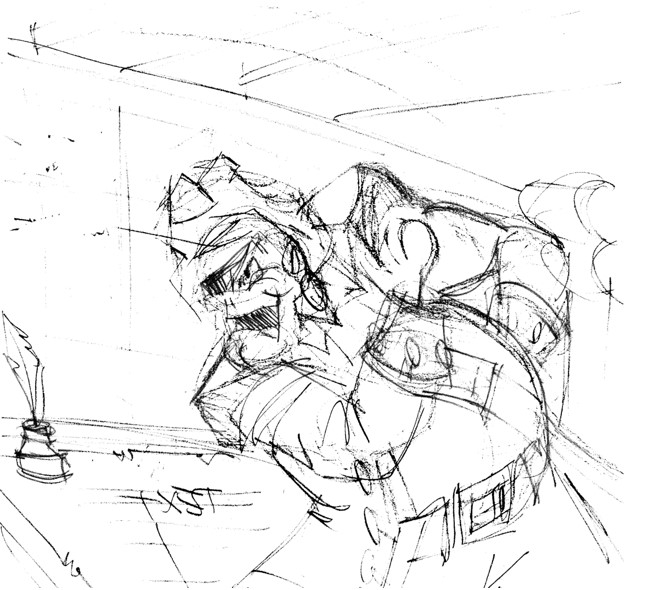
THE FIRST FULL DRAFT
Now, it’s beginning to look like something recognizable. You see his gesture, expression, and a bit more of the location he’s in. Now, you should know the characters for the book have already been designed and approved by the author before any page sketches for the book begin.

Most illustrators will send the sketches of just the characters to the author for 2-3 rounds of revisions where she can make adjustments and changes to their appearance. I typically do unlimited revisions until the author sees

exactly what she wants. I feel that this is her story with her characters, and my primary job is to put her vision on each page.

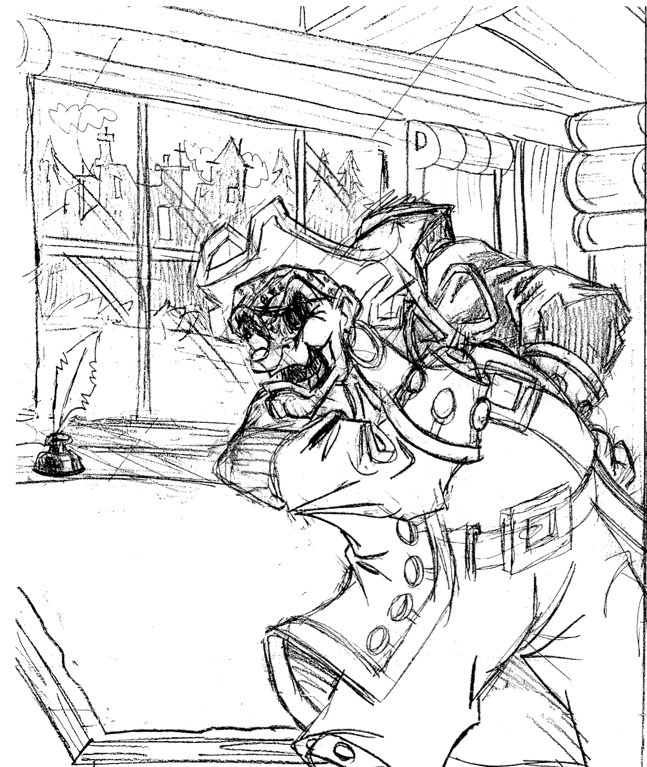
FOCUSING IN
Next, I do a cleaner, more detailed version with additional background in place. I’ve left the big sheet of parchment paper on his desk blank. This is where I see the text being placed. I then email this, along with sketches of other pages to the author for his thoughts.

Again, it’s his vision I’m trying to depict so I’m very open to anything suggested at this stage. Sometimes, I hit it on my first sketch. Sometimes not. I often do several versions with big and small tweaks until the author approves.

CUT! PRINT IT!
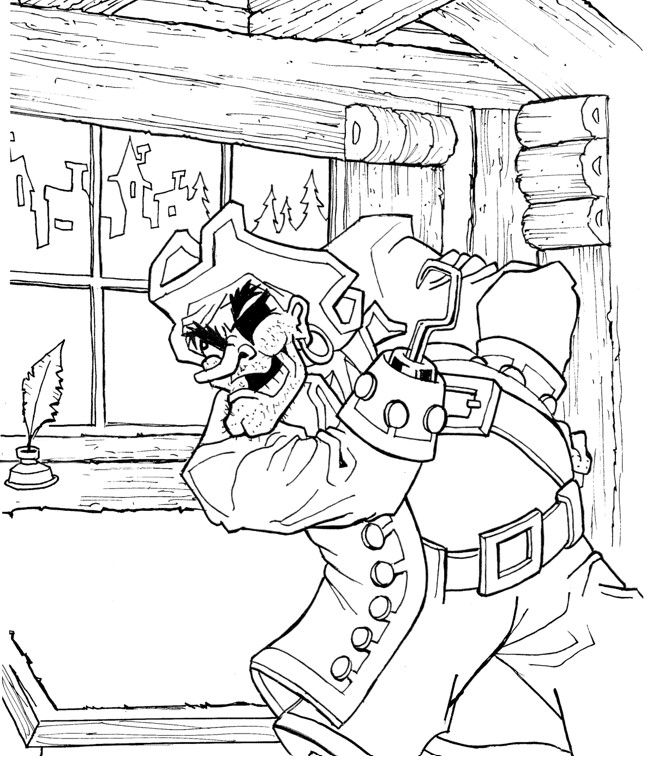
This is the final inked drawing before color is added. Everything looks very much like it did from its early stages.

You can see that, up to this point, you have many chances to change each page as we progress. However, once color is applied, making adjustments can be very difficult and time consuming, depending on what needs to be re-done. It’s best to be certain that it all meets with your approval before we get to this step.

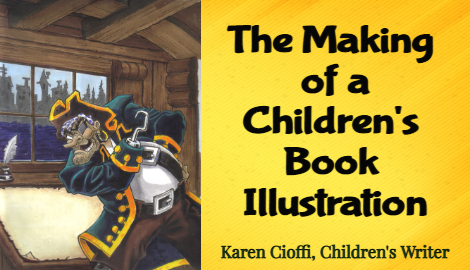
IN LIVING COLOR

The first illustration at the top of the page is the final image, minus the text. The coloring was done with marker and a little colored pencil. It’s now ready to be sent, with the other completed pages, to the printer.

ANOTHER STYLE

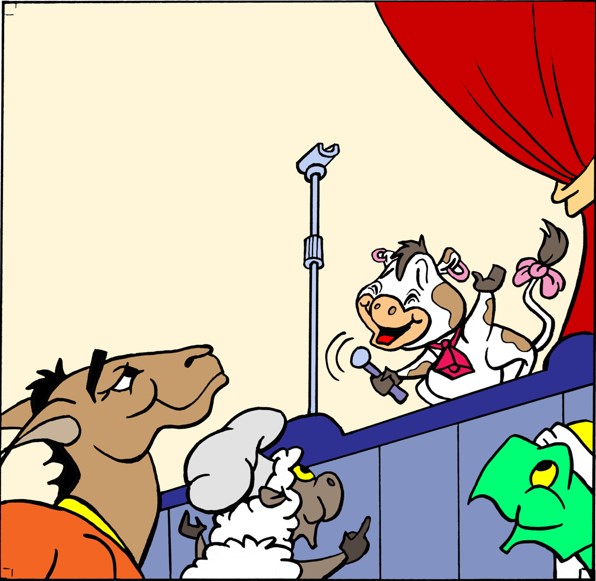
Below is a page from another book I’ve illustrated that shows a different technique I also do. You can see it looks much simpler than the pirate page. That means it takes less time to do and, therefore, is more affordable.

The steps to get us to the final stage for this technique are exactly the same; the script that’s broken down into stanzas, rough sketches, refinement, and final inking.
This coloring technique is much simpler as you can see. That’s because I first scanned the inked drawing and then filled in the color using Photoshop. And because it’s done in Photoshop, we are able to do some adjusting, particularly in changing the color to the art in its final form much more easily.

So, there you are! All illustrators use these same basic steps whether they draw on paper or tablets.

If you’d like to talk about your book and see if I might be able to help, I’d love to hear from you.

Stan Jaskiel, the illustrator and author of this article.

My email: Stanscartoons@comcast.net
Where you can see more of my work: https://Stanscartoons.com
How you can reach me: 978-745-6235
I’m a working children’s ghostwriter, rewriter, and coach. I can help turn your story into a book you’ll be proud to be author of, one that’s publishable and marketable.

You can contact me at: kcioffiventrice@gmail.com. Or, you can give me a call at 834---347---6700

Or, if you’d rather do-it-yourself, check out my book, How to Write a Children’s Fiction Book.

Chapter Book Guidelines

Get Your Self-Published Books Into Libraries – 6 Must Know Tips

12 Tips on Polishing Your Novel


3 thoughts on “THE MAKING OF A CHILDREN’S BOOK ILLUSTRATION”